 10 Braces Tips to Help You Breeze
Through Your First Week of Treatment
Getting braces put on is a momentous occasion! It means, before you know it, you’ll have straight teeth, a healthy bite, and a fantastic smile. While once you get used to your new hardware, you’ll barely even notice it, your first week of braces can seem a little daunting. To help you sail through this adjustment period, I’m sharing some of the braces tips that work for my Brooklyn braces patients.
The Process of Getting Braces
Before we dive into the braces tips, let’s talk about what happens when you get your braces put on. After all, you can’t start your first week of treatment without this step. Does getting braces hurt? How long does it take to get braces? Are there needles involved? These are the questions my team and I hear a lot.
What happens when I get braces put on?
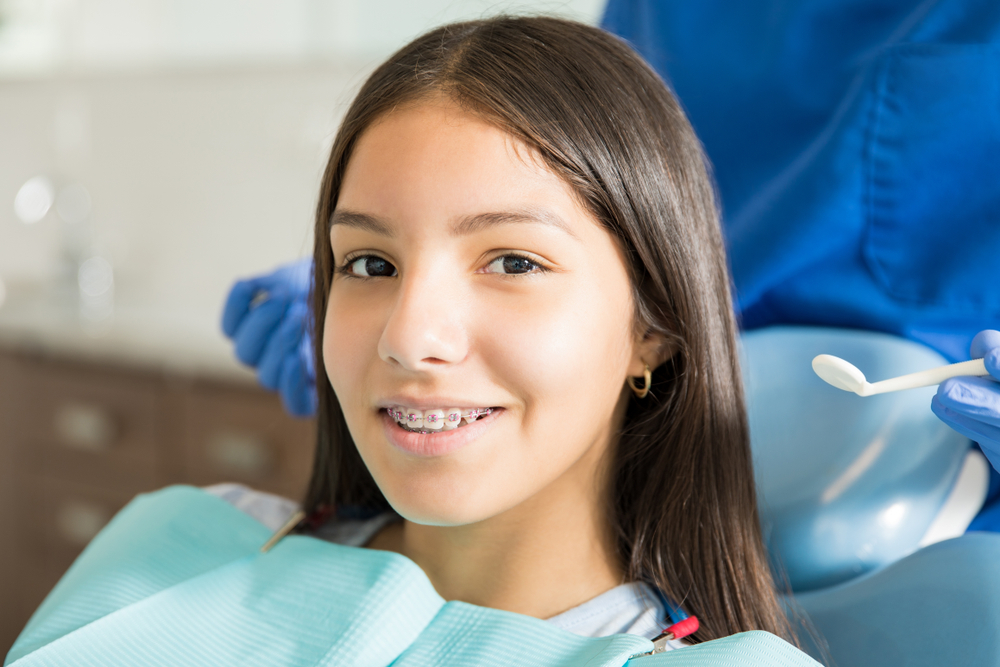
The process of getting braces put on is straightforward. After I create a customized treatment plan just for your smile, you’ll come in for what’s known as a bonding appointment. You’ll sit back in one of our comfy treatment chairs and a Fresh Orthodontics team member will clean your teeth and then use a cheek retractor to gently move your cheeks out of the way.
Next, after drying your teeth, I’ll stick your braces brackets on using a special adhesive. Once the brackets are in place, I’ll thread archwires through the upper and lower brackets and secure them with elastics in whichever color(s) you choose.
Does getting braces hurt?
Nope! Getting braces does not hurt at all. The procedure is completely painless.
How long does it take to get braces?
Your bonding appointment will take about 45 minutes to an hour.
Do you use needles?
Breathe a sigh of relief because no needles are involved in the braces procedure.
Our Best Braces Tips
Okay, now on to the good stuff. Here are the best tips to help make your first week of braces fly by:
1. Take an over-the-counter pain reliever right before your bonding appointment.
Though you should never feel severe braces pain the first week, or at any point during your treatment, your teeth will be a little tender and achy an hour or two after you get your braces put on. You might also have some tenderness after adjustments. This just means your braces are working to shift your teeth into place. The initial discomfort lasts less than a week and, after adjustments, only a day or two.
You can get a head start on sensitivity by taking an over-the-counter pain reliever (whatever you’d normally take for a headache) right before your bonding appointment. This way, it will kick in by the time your braces exert any pressure on your teeth. You can continue to take an over-the-counter pain reliever as directed during the few days after first getting braces. If you experience significant braces pain the first week, and it doesn’t respond to pain relief efforts, give our office a call!
2. Stick with soft foods and cold drinks.
Wondering what to eat with braces the first week? Soft foods, as well as cold foods and drinks, are easy on the teeth and will help if your pearly whites are tender. Cold stuff has the added benefit of numbing your mouth a little bit. Some of the best soft foods for braces include yogurt, smoothies, applesauce, soup, ripe bananas, oatmeal, scrambled eggs, milkshakes, smoothies, and protein shakes. Opt for options that entail minimal chewing for the first several days.
When you feel ready to tackle your normal diet again, you can eat whatever you’d like, as long as it’s not on the list of foods you can’t eat with braces, such as really hard, chewy, or sticky foods. These types of foods can damage your appliance.
3. Keep your braces wax nearby.
Orthodontic relief wax, sometimes called braces wax, can be a huge help during your first week of braces treatment. When you start wearing braces, the hardware can irritate the inside of your cheeks, lips, and tongue. This is normal and, after a few weeks, your mouth will “toughen” up and the irritation will go away. In the meantime, keep your braces wax handy.
As for how to use wax for braces, gently dry off the area of your braces that’s bothering you with a clean piece of gauze, a cotton swab, or a tissue. Then, break off a small piece of wax. Roll it in between your fingers to warm it up and stick it on your braces. That’s it. This simple braces hack will ward off irritation and sores.
If you’re in a pinch and you don’t have your orthodontic wax on hand, you can also use sugarless chewing gum. Chew it a few times to soften it up and go through the same process you would for braces wax.
4. Swish with saltwater.
Make a saltwater rinse by dissolving ½ teaspoon of salt in a glass of warm water. Gargle the solution in your mouth, letting it sit on any irritated or sore areas, and then spit it out. You can swish with saltwater several times a day if needed. It will speed up healing and prevent discomfort.
5. Practice excellent oral hygiene (and try a soft-bristled toothbrush).
Your braces wires and brackets trap food and plaque. To prevent cavities and gum disease, you’ll want to brush your teeth with braces more often than you did in your pre-treatment days. Brush in the morning, after meals and snacks, and before bed using a fluoride toothpaste and a soft-bristled toothbrush. Hard bristles can be rough on tender teeth and gums. Also be sure to floss once daily (check out our recent post on how to floss with braces for more details).
6. Wear a mouthguard!
If you’re an athlete and will be playing sports or doing any physical activity that could result in a blow to the mouth, wear a mouthguard. If you get hit in the face while wearing braces and you don’t have a mouthguard in, the brackets and wires can injure the inside of your mouth, cut your opponent, or your braces could get damaged, necessitating a repair appointment. When choosing a mouthguard for braces, look for one that is designed for orthodontic treatment or go with a custom mouthgaurd.
7. Know how to handle mishaps like a broken braces wire or loose bracket.
True orthodontic emergencies are rare, however, minor issues can crop up. Knowing how to troubleshoot them will help you feel more confident during your first week with braces. If you have a problem, it’s always a good idea to call our office so that we can let you know if you need to come in for a repair appointment. Until your visit, there are things you can do at home to keep yourself comfortable:
- Poking or Broken Braces Wire – If a piece of braces wire comes loose or is poking you in the cheek, it might cause irritation. Your best bet when dealing with a broken or poking braces wire is to use a clean cotton swab or the eraser end of a new pencil to gently push the wire out of the way and against the nearest tooth. If you need to, you can cover it with braces wax to act as a barrier between the wire and your mouth.
If the piece is extra long, you can snip it. Clean and sterilize nail clippers with alcohol and then use them to gently cut the excess off your braces wire. Again, you might need to cover the end with wax to keep it from poking. If you’re feeling uncertain about how to cut a braces wire, give us a call and we’ll walk you through it.
- Loose or Broken Braces Bracket – For a loose or broken braces bracket, if it’s in the middle of your mouth, carefully slide it back in place and stick wax over it to keep it from moving around. If the broken braces bracket is at the back of the mouth, you can gently slide it off your wire, being super careful not to swallow it. If you’re left with a long piece of wire, push it out of the way with that cotton swab or eraser, or use sterilized nail clippers to cut it before covering the end with wax.
8. Put together a to-go kit and take it with you when you’re out and about.
One of the best braces hacks is to fill a toiletry bag or cosmetic case with braces supplies. Bring your kit along with you to school, work, and activities. This way, you always have what you need when you need it. You’ll be able to brush your teeth after eating, make sure you don’t have a chunk of food stuck in your braces while in public, and prevent discomfort. What should you include in your braces kit? I’d suggest:
- A travel toothbrush
- Interproximal brushes
- Dental floss and floss threaders, or orthodontic flossers
- Orthodontic wax
- A small mirror
9. Chew sugarless gum.
You might be asking, “Can you chew gum with braces?” Yes, you can chew gum with braces, contrary to popular belief, as long as it’s sugarless and you chew a small amount in moderation. A large wad, even if it doesn’t contain sugar, could potentially damage your appliance.
Sugar-free gum is less sticky and won’t usually get trapped in your hardware. Additionally, it won’t feed the bacteria in the mouth like the sugary varieties, and, therefore, doesn’t increase your risk of tooth decay. In fact, chewing sugarless gum after eating stimulates saliva and helps to wash away more bacteria and food particles, actually reducing the occurrence of cavities.
Even better? A study found that chewing gum after first getting braces put on, decreased braces pain and was comparable in effectiveness to taking ibuprofen. The researchers also noted that there was no increase in appliance breakage among study participants who chewed gum.
10. Keep your end results in mind!
Your first week of braces treatment is the most challenging. Your tongue, cheeks, and lips are suddenly sharing space with brackets and wires, your teeth may feel sensitive, and you have to learn how to floss and brush using new techniques. If you feel overwhelmed, focus on why you got braces in the first place and the amazing end results you’ll be able to flaunt when your braces come off. Remind yourself that it only gets easier from here, and once the first week is over, you’ll be on your way to becoming a braces pro.
There you have it, the best braces tips to help you breeze through your first week. If you have any questions or you’re ready to start your own smile journey with Brooklyn braces or Invisalign treatment, schedule a complimentary consultation at Fresh Orthodontics today!


