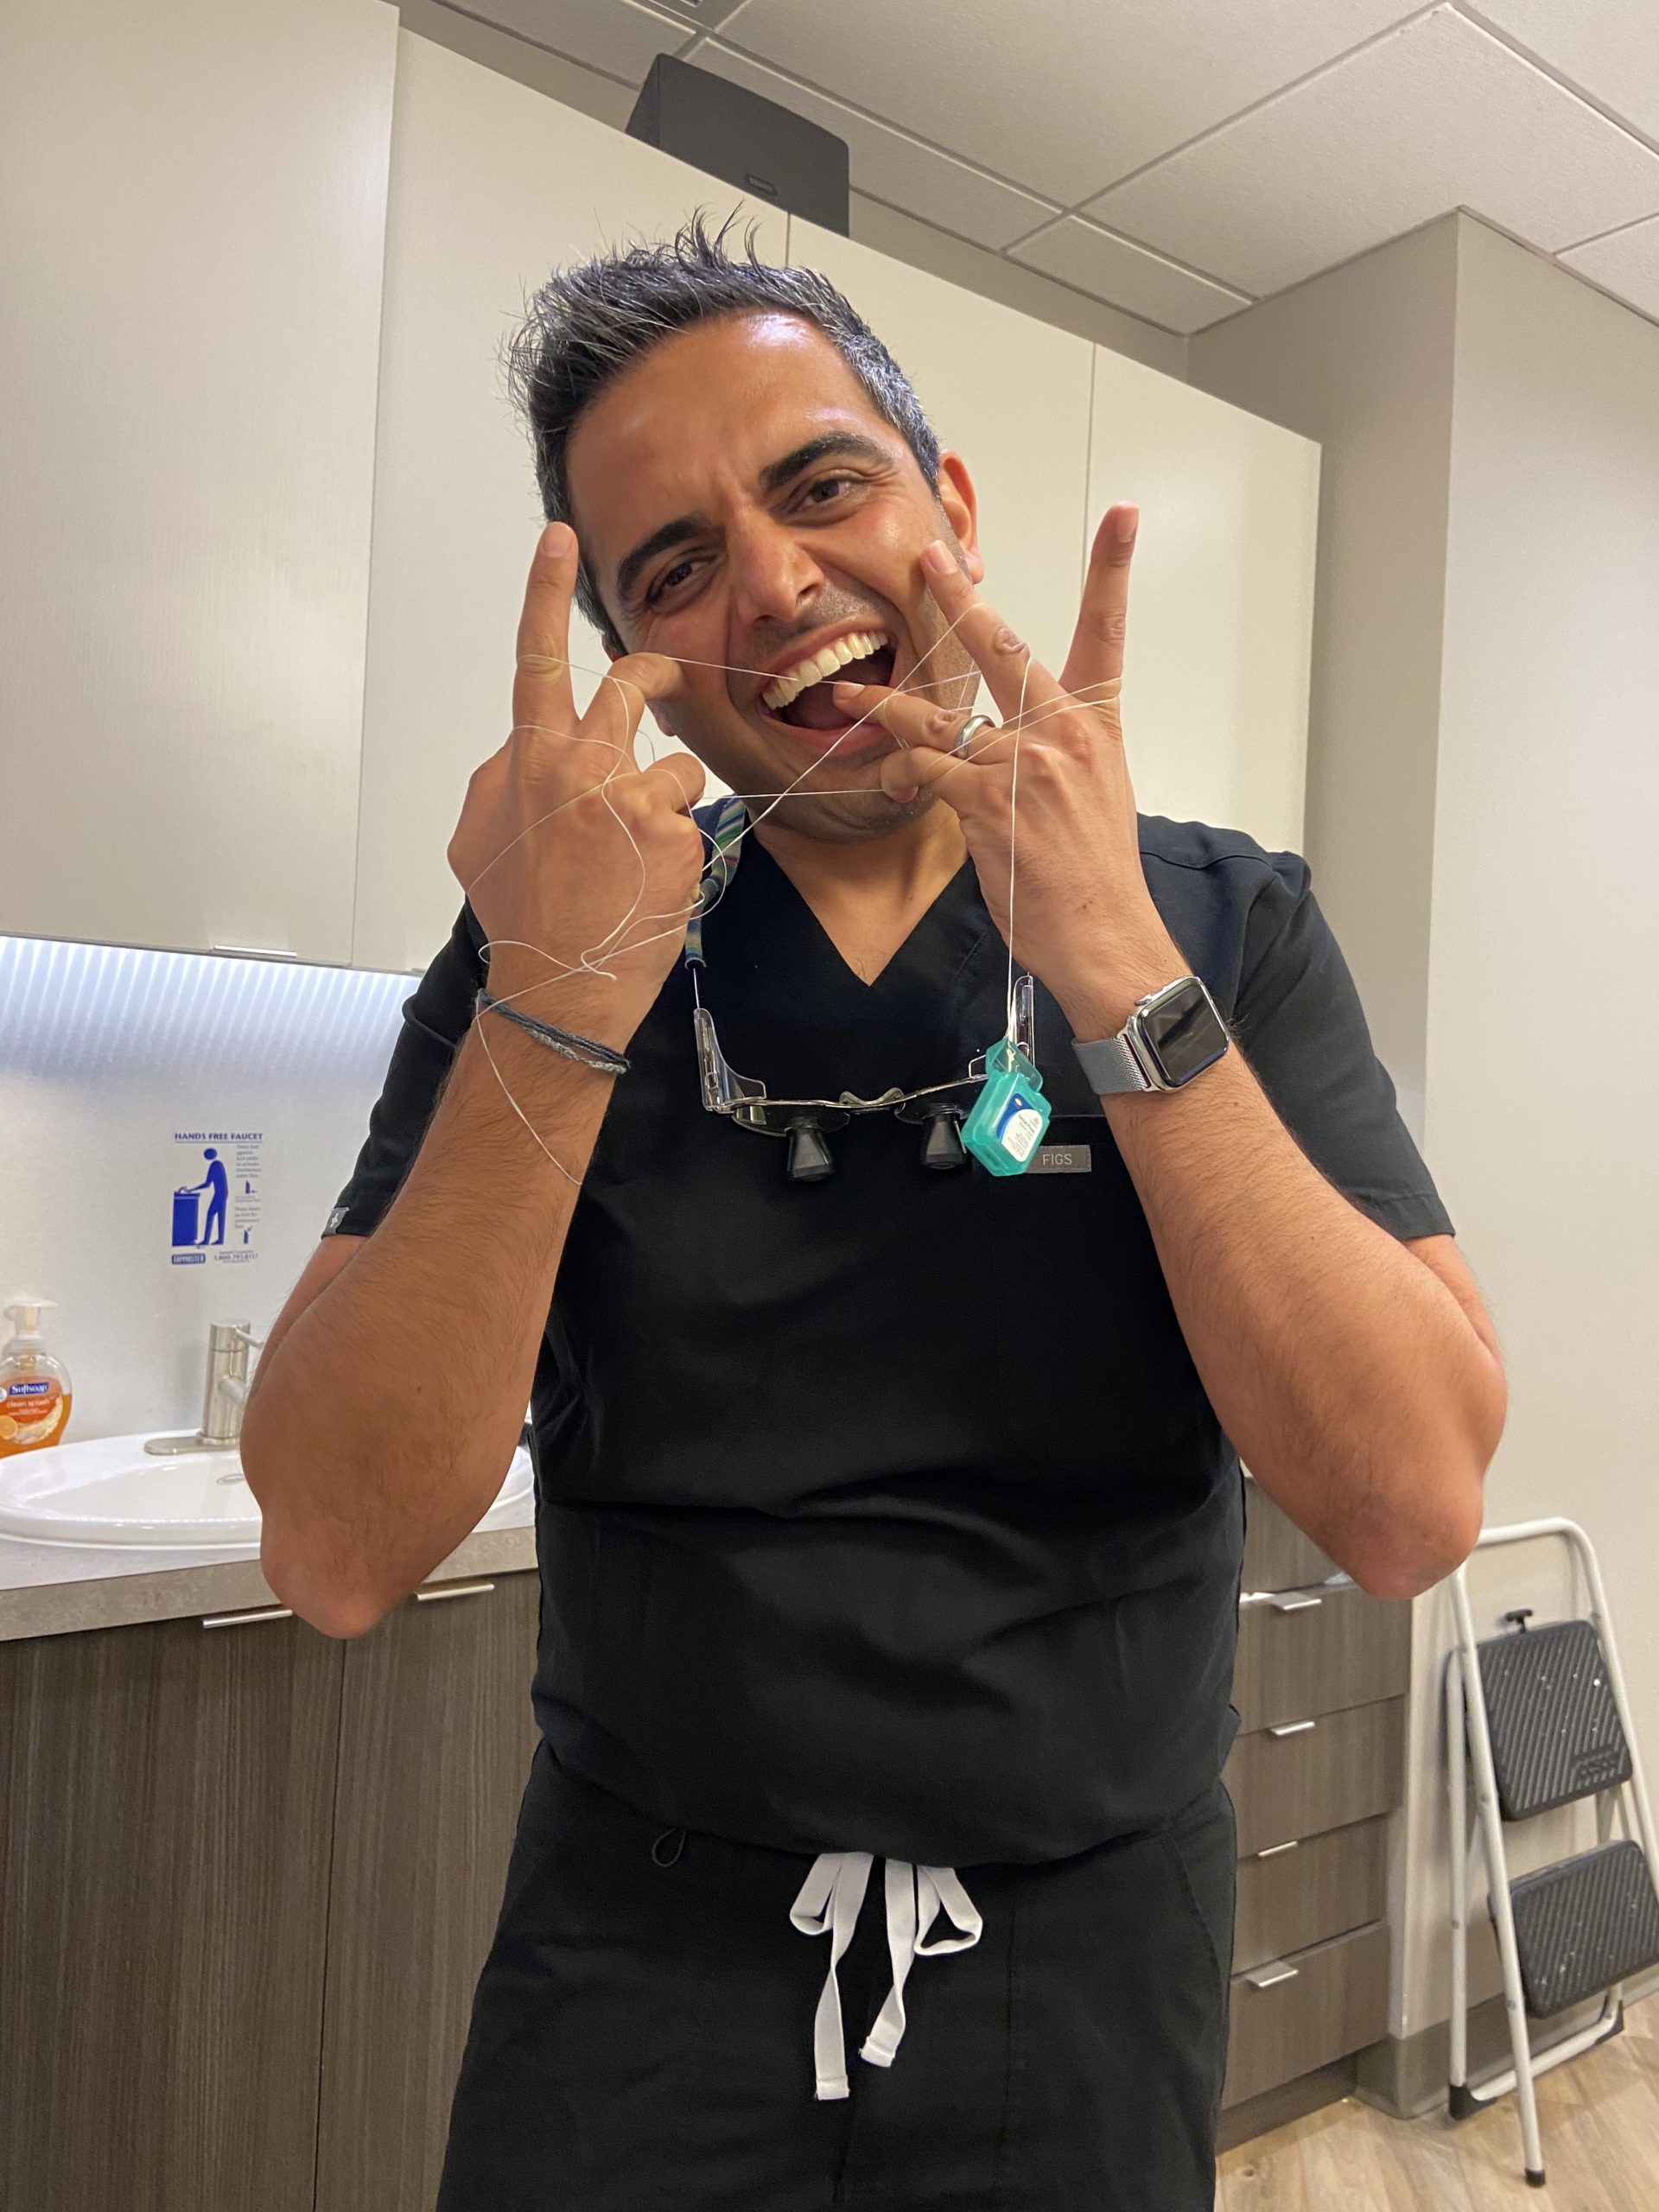
I know not many people love to floss their teeth. Hey, even after going to dental school and working as a Brooklyn orthodontist, I wouldn’t say I find it the most thrilling part of my day. Yet, flossing is so important to your oral health because it removes plaque between the teeth and at the gumline that your toothbrush can’t reach. If you don’t floss, you increase the likelihood of developing tooth decay and gum disease. Since teeth move most effectively in a healthy oral environment, flossing with braces is even more crucial. Plus, getting cavities or gum disease could set your treatment back. In extreme cases, you’d even have to have your braces removed to receive dental care.
It does take a little while to get the hang of flossing with braces because you need to maneuver around your brackets and wires. The good news is once you get used to it, you’ll get a lot faster and more effective. To help you become a pro, I’m sharing how to floss with braces using a variety of different tools.
How to Floss With Braces Using Regular Dental Floss
When it comes to choosing the best floss for braces, I usually tell my Park Slope braces patients to either use regular floss with a floss threader or to use an orthodontic flosser. Both options are much quicker and easier than using conventional dental floss alone. However, if you don’t want to purchase specialized braces floss or tools, it is possible to do the job without them.
Your best bet is to use waxed floss for braces. Unwaxed floss can get shredded and stuck in your brackets. Once you have your floss:
- Use a piece of floss approximately 18 to 24 inches long.
- Thread the floss between your braces wire and your teeth with one hand. Grab the end of the floss with your other hand as it comes through.
- For easier handling, wrap the ends of the dental floss around your index fingers.
- Gently move the floss between any two teeth. Go up and down the side of one tooth with the floss, getting slightly under the gumline, and then go up and down the side of the other tooth, being sure to floss the gum line.
- Carefully remove the floss and unthread it behind the wire.
- Move on to the next set of teeth and repeat the process. Don’t forget to floss behind the back molars too.
How to Floss With Braces Using a Floss Threader
Using a floss threader will make flossing with braces a little easier. You can find this small tool at the grocery store, the pharmacy or online. It turns any regular old floss into floss for braces by making it easier to get the floss behind the wire. Here’s how to use a floss threader:
- Use a piece of waxed dental floss that’s 18 to 24 inches long. Pull the piece of floss through the eye of the floss threader.
- Guide the pointed end of your threader under your braces wire and gently pull the floss through until you can grab it with both hands.
- Wrap the floss around your index fingers.
- Position the floss between two teeth. Floss up and down the side of one tooth, being sure to floss just under the gumline, and then do the same to the other tooth.
- Gently pull the floss out and then use the threader again to get in between the next set of teeth. Do this until you’ve flossed your entire mouth, including around the back molars.
How to Floss With Braces Using an Orthodontic Flosser
An orthodontic flosser, like a Platypus flosser, is a special flossing tool for braces wearers. It’s the simplest and quickest way to floss with braces and it will shave a lot of time off of your oral hygiene routine. However, they are more expensive than standard floss. Here’s how to use an orthodontic flosser:
- Simply take the rounded end of the flosser and slip it under the wire of your braces so that the floss goes in between your teeth.
- Floss up and down the side of one tooth getting slightly under the gumline. Then floss up and down the side of the other tooth.
- Gently pull the flosser out and position it between your next set of teeth, repeating the process until all of your pearly whites are flossed.
Bonus: How to Use a Waterpik for Braces
Patients sometimes ask can I use a waterpik with braces? Yes, you can! However, keep in mind, a waterpik, or water flosser, doesn’t replace regular flossing and you’ll still have to floss once daily in addition to using your water flosser. It is a great extra tool though and I do recommend adding a waterpik to the mix because it helps get your teeth, gums and braces squeaky clean. Plus, it’s excellent for dislodging food particles. Most water flossers have orthodontic tips that are designed to more effectively clean around your hardware. Here’s a step-by-step breakdown of how to use a waterpik for braces:
- Fill the reservoir with lukewarm water and then insert your flosser tip.
- Lean over the sink and place the tip in your mouth. Set the waterpik at low pressure to start.
- Turn your water flosser on. Close your lips to avoid splashing and let the water run from your mouth into the sink.
- Start at your back teeth. Point the tip at the gumline and then gently brush between the teeth and then around your braces bracket.
- Move on to the next tooth and repeat the process until you’ve finished your entire mouth.
General Tips for Flossing With Braces
Now that you know the specifics of how to floss with braces, here are some general tips for amazing oral hygiene:
- Floss once daily and brush your teeth in the morning, after meals and snacks, and before bed. In addition to brushing and flossing, use an interproximal brush to clean around your braces brackets.
- Keep up with your regular dental exams and cleanings. No matter how dedicated you are to flossing with braces, hardened plaque, called tartar, can still form and you can’t eliminate it on your own by brushing and flossing. The only way to get rid of tartar and keep teeth and gums healthy is with a professional cleaning. During your exam, your dentist can also confirm whether your flossing routine is working and keep an eye out for any issues while they’re still easy to treat.
- If you don’t have any oral hygiene supplies on hand, rinse your mouth out really well after eating or drinking and brush when you get home.
- Ask the Fresh Orthodontics team for help! If you’re having trouble flossing with braces or you’re unsure of whether or not you’re doing it correctly, we’d love to help. A team member will walk you through it ensuring your flossing skills are top-notch.
While flossing with braces does take a little time to get used to, it’s worth it. Braces treatment is an investment in your oral health and regular flossing will ensure you have a fantastic, healthy smile to show for it when you’re done. If you haven’t started treatment yet and you’d like to learn more about your teeth-straightening options, schedule an in-person or virtual consultation at Fresh Orthodontics today! To find out how we’re keeping our patients and team members safe, check out our COVID-19 guidelines.


